Seamless EC2 monitoring with the Unified CloudWatch Agent
Shipping logs and metrics from an EC2 instance to CloudWatch was painful in the past. By default, you only get metrics about CPU utilization, disk and network IO. The missing pieces are metrics about memory and disk usage and logs. Plenty of different options are available to achieve the goal of collecting the missing information. You can use collectd with a plugin to ship metrics. fluentd comes with plugins to send logs and metrics as well. On top of that, AWS provides or provided multiple agents to ship metrics and logs.

The good news is that AWS finally seems to settle on a single agent, called Unified CloudWatch Agent, which solves all problems. The Unified CloudWatch Agent ships logs and metrics to CloudWatch. The bad news is that the Unified CloudWatch Agent is not part of Amazon Linux 2 by default. (Compare with the SSM agent that is installed and started by default, which might surprise you and your security team). In this blog post, you learn how to install and configure the Unified CloudWatch Agent with Amazon Linux 2. Without forcing you to use SSM or any other non-standard Linux tools. As long as you can install RPMs, you are okay with any other Linux distribution too.
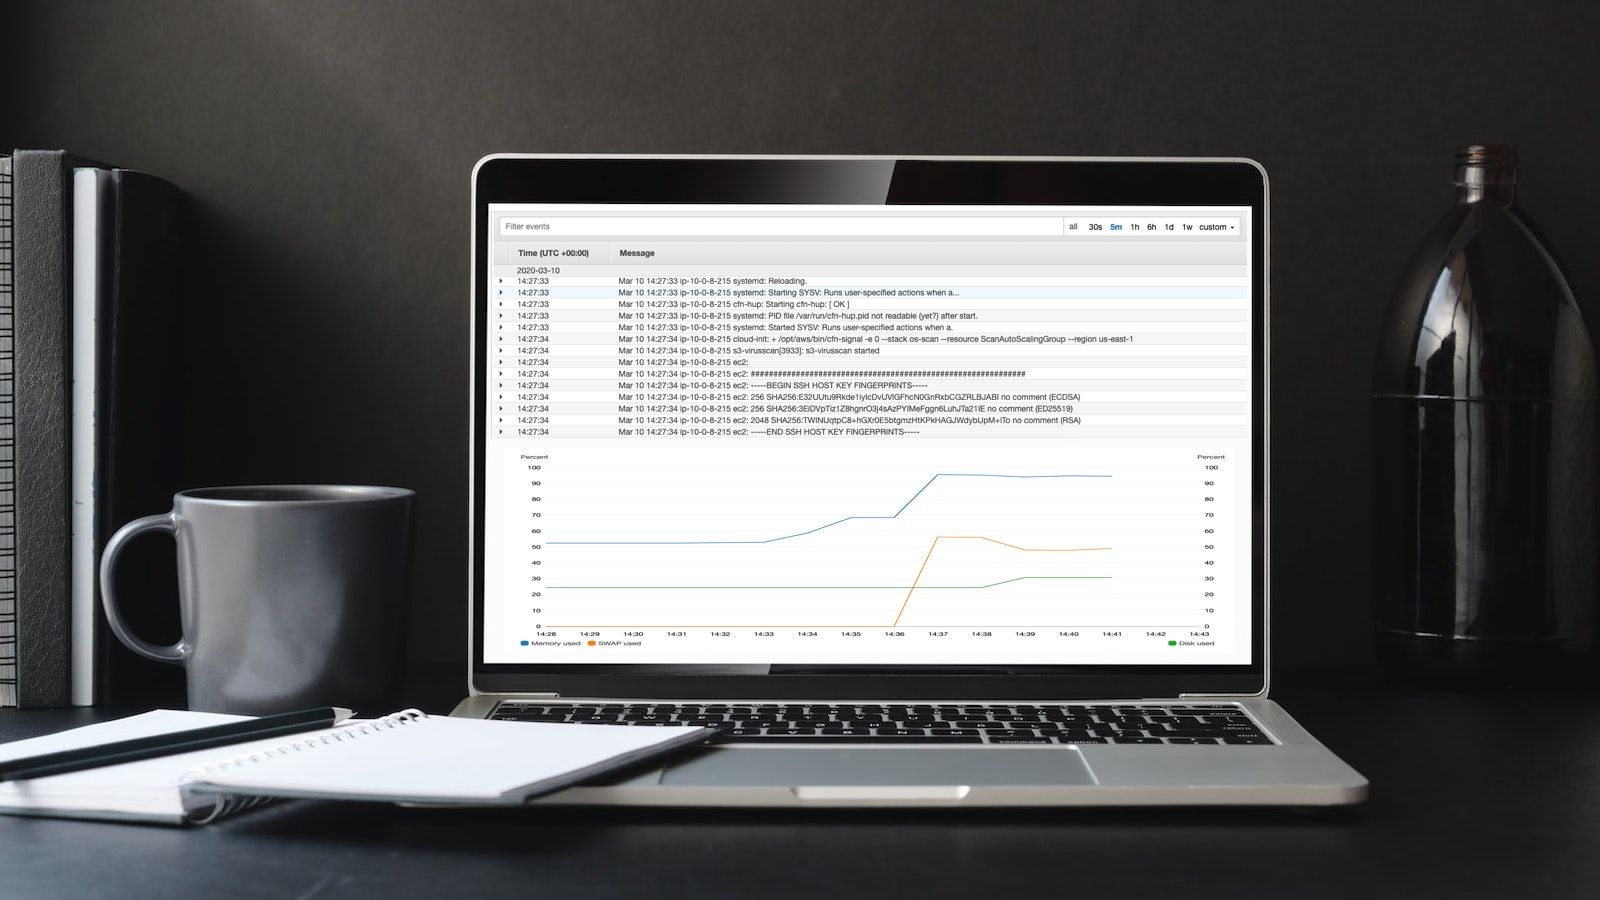
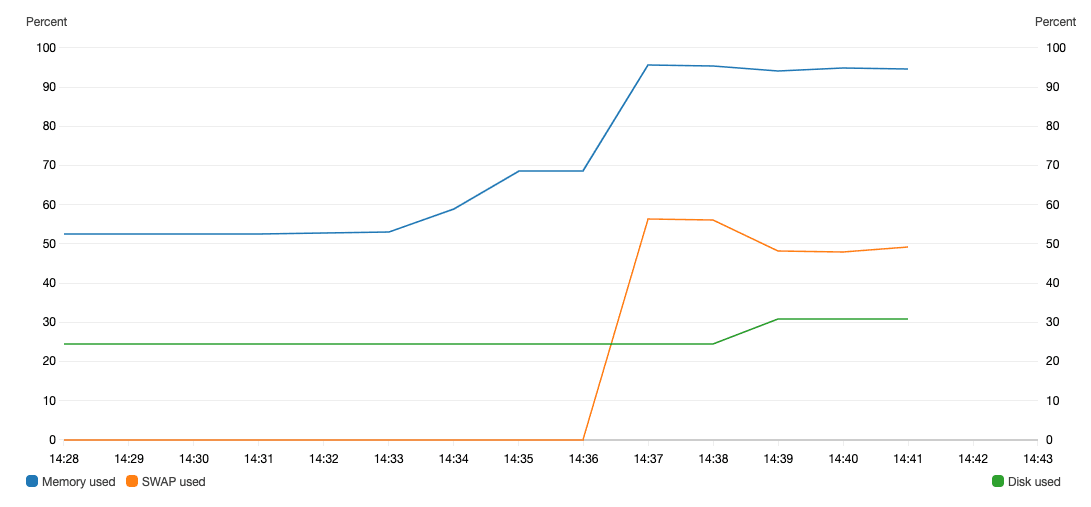
The agent creates additional metrics like memory and swap usage.

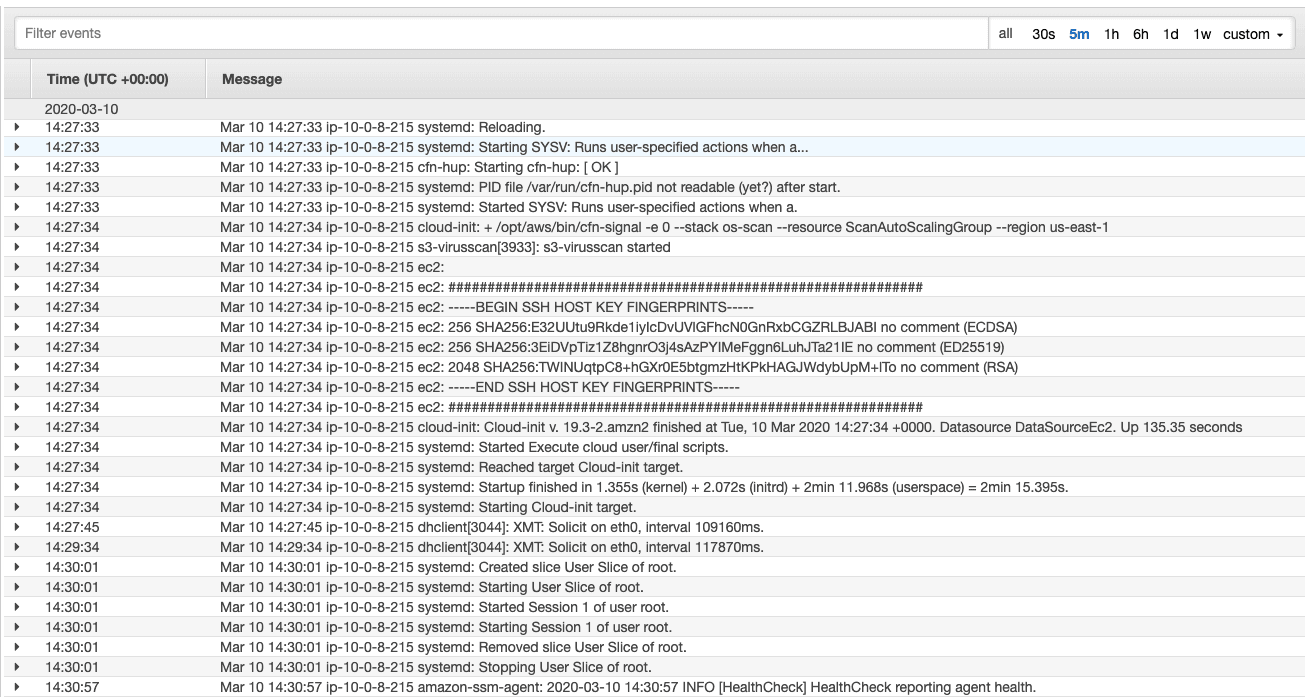
On top of that, the agent will also send events from log files to a log group.

Installing
Unfortunately, the Unified CloudWatch Agent is not part of the official package repositories included in Amazon Linux 2. Instead of a straightforward yum install xyz, execute the following commands.
wget https://s3.amazonaws.com/amazoncloudwatch-agent/amazon_linux/amd64/latest/amazon-cloudwatch-agent.rpm |
I don’t recommend to install whatever the latest version is. Instead, you should pin the version like this:
wget https://s3.amazonaws.com/amazoncloudwatch-agent/amazon_linux/amd64/1.237768.0/amazon-cloudwatch-agent.rpm |
You might ask yourself: where can I find the release notes? AWS provides us with RELEASE_NOTES, which feels a little bit outdated nowadays where most of us use GitHub where you can subscribe to new releases via RSS. But it works. Besides that, there is no way to subscribe to new releases anywhere. Interestingly, you can get the latest version from https://s3.amazonaws.com/amazoncloudwatch-agent/info/latest/CWAGENT_VERSION.
Unfortunately, the RELEASE_NOTES and the CWAGENT_VERSION are not in sync right now. The release notes list version 1.229195.0 as the latest release, which is not available for download. Instead, the CWAGENT_VERSION points to the newest version 1.237768.0, which I can download 🤷. As I said, the Unified CloudWatch Agent needs more ❤️.
Configuring
The most important configuration file is /opt/aws/amazon-cloudwatch-agent/etc/amazon-cloudwatch-agent.json. The details are documented in depth.
In the following, I will provide you a default configuration that works for Amazon Linux 2 and ships:
- logs from
/var/log/ - memory and swap usage metrics
- root volume (
/) disk usage metric
The log streams are automatically prefixed with the EC2 instance id, and the metrics are published with an InstanceId dimension as well.
Replace LOG_GROUP_NAME with the name of your CloudWatch log group and CW_NAMESPACE with the name-space you want to use for the custom metrics.
{ |
Do you want to use the configuration for instances running inside an Auto Scaling Group? In that scenario, you likely want to change the dimension used for metrics and publish the AutoScalingGroupName dimension:
{ |
It wouldn’t be AWS if you didn’t also have to grant IAM permissions, right?
IAM permissions
The following policy needs to be attached to the IAM role that is attached to the EC2 instance (via an Instance Profile). The policy grants permissions to publish CloudWatch metrics and logs and follows the least privilege principle.
Replace CW_NAMESPACE and LOG_GROUP_ARN with your values.
{ |
If you are planning to use the configuration for instances running inside an Auto Scaling Group, you also need the following permission:
{ |
Starting & Stopping
To start the agent, run:
systemctl start amazon-cloudwatch-agent |
To stop the agent, run:
systemctl stop amazon-cloudwatch-agent |
To start the agent when the system boots up, run:
systemctl enable amazon-cloudwatch-agent |
Summary
The Unified CloudWatch Agent is an excellent option to ship logs and metrics from EC2 instances to CloudWatch. The Unified CloudWatch Agent docs seem to be heavily influenced by SSM marketing gurus. The obvious choice to install a tool on Linux seems to be: install package, modify configuration files, start with systemd. Instead, the docs mention all kinds of useful and not so useful helpers that hide the important stuff. I hope that the agent will be pre-installed on Amazon Linux 2 AMI one day (or at least available via package repositories).
Further reading
- Article Migrating to Amazon Linux 2
- Article Reduce your AWS bill with Savings Plans
- Article Show your Tool: Parliament
- Tag ec2
- Tag cloudwatch
- Tag highlight
