The Cloud Switch: IoT Button, Lambda, and CloudFormation
Last one out turns off the light. What works for boring light bulbs can be adopted to your cloud infrastructure as well. Are you using a development and testing environment that is only used during working hours? Why not turning off the cloud infrastructure with the press of a button when the last one leaves the office?

Sounds like magic? It is not. Launching and terminating your cloud infrastructure with the press of a button can be achieved by combining the following building blocks:
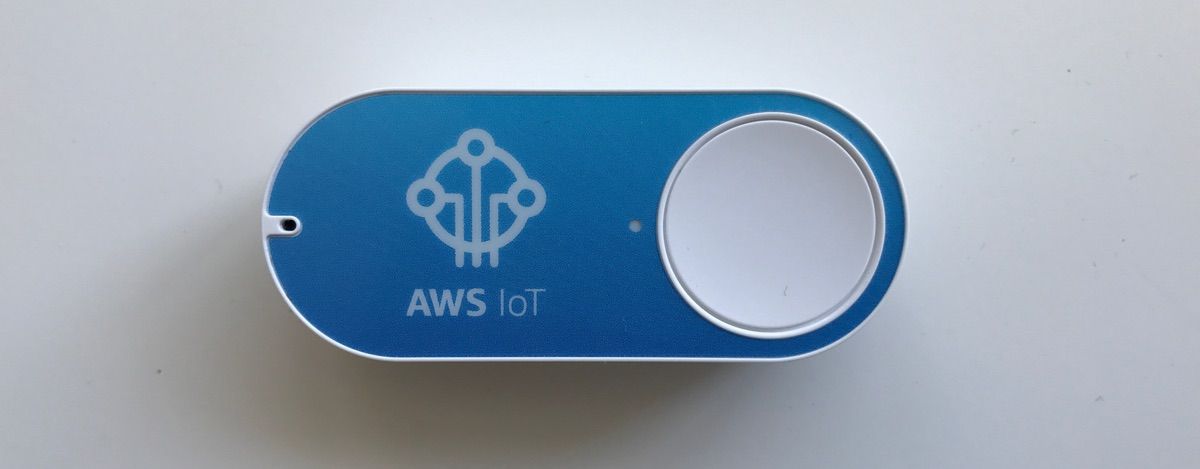
- AWS IoT Button: the physical button connected to your Wifi sends events to AWS.
- AWS Lambda: the runtime environment to execute a small piece of Node.js code triggered by events from the IoT button.
- AWS CloudFormation: used to create and delete all parts of your development and testing infrastructure in an automated way.
Before you get started. Order an AWS IoT Button. After your friendly parcel carrier handed over the package with your own IoT Button you are ready to go.

Creating a CloudFormation template
First of all, you need a CloudFormation template describing your development and testing environment. Upload your template to S3 and note down its URL.
Looking for inspiration? Check out our collection of useful CloudFormation templates.
Creating an IAM Role
The Lambda function needs to be authorized to create and delete CloudFormation stacks and all the resources defined within the template on your behalf.
Create a new IAM Role to do so.
- Go to Identity and Access Management (IAM).
- Select
Rolesfrom the sub navigation. - Press the
Create new rolebutton. - Select
AWS Lambdaas role type. - Select the
AdministratorAccesspolicy and proceed with the next step of the wizard. - Type in
iotbutton-cloudformationas role name and proceed with the next step of the wizard. - Press the
Create rolebutton to create the role and finish the wizard.
Creating a Lambda function
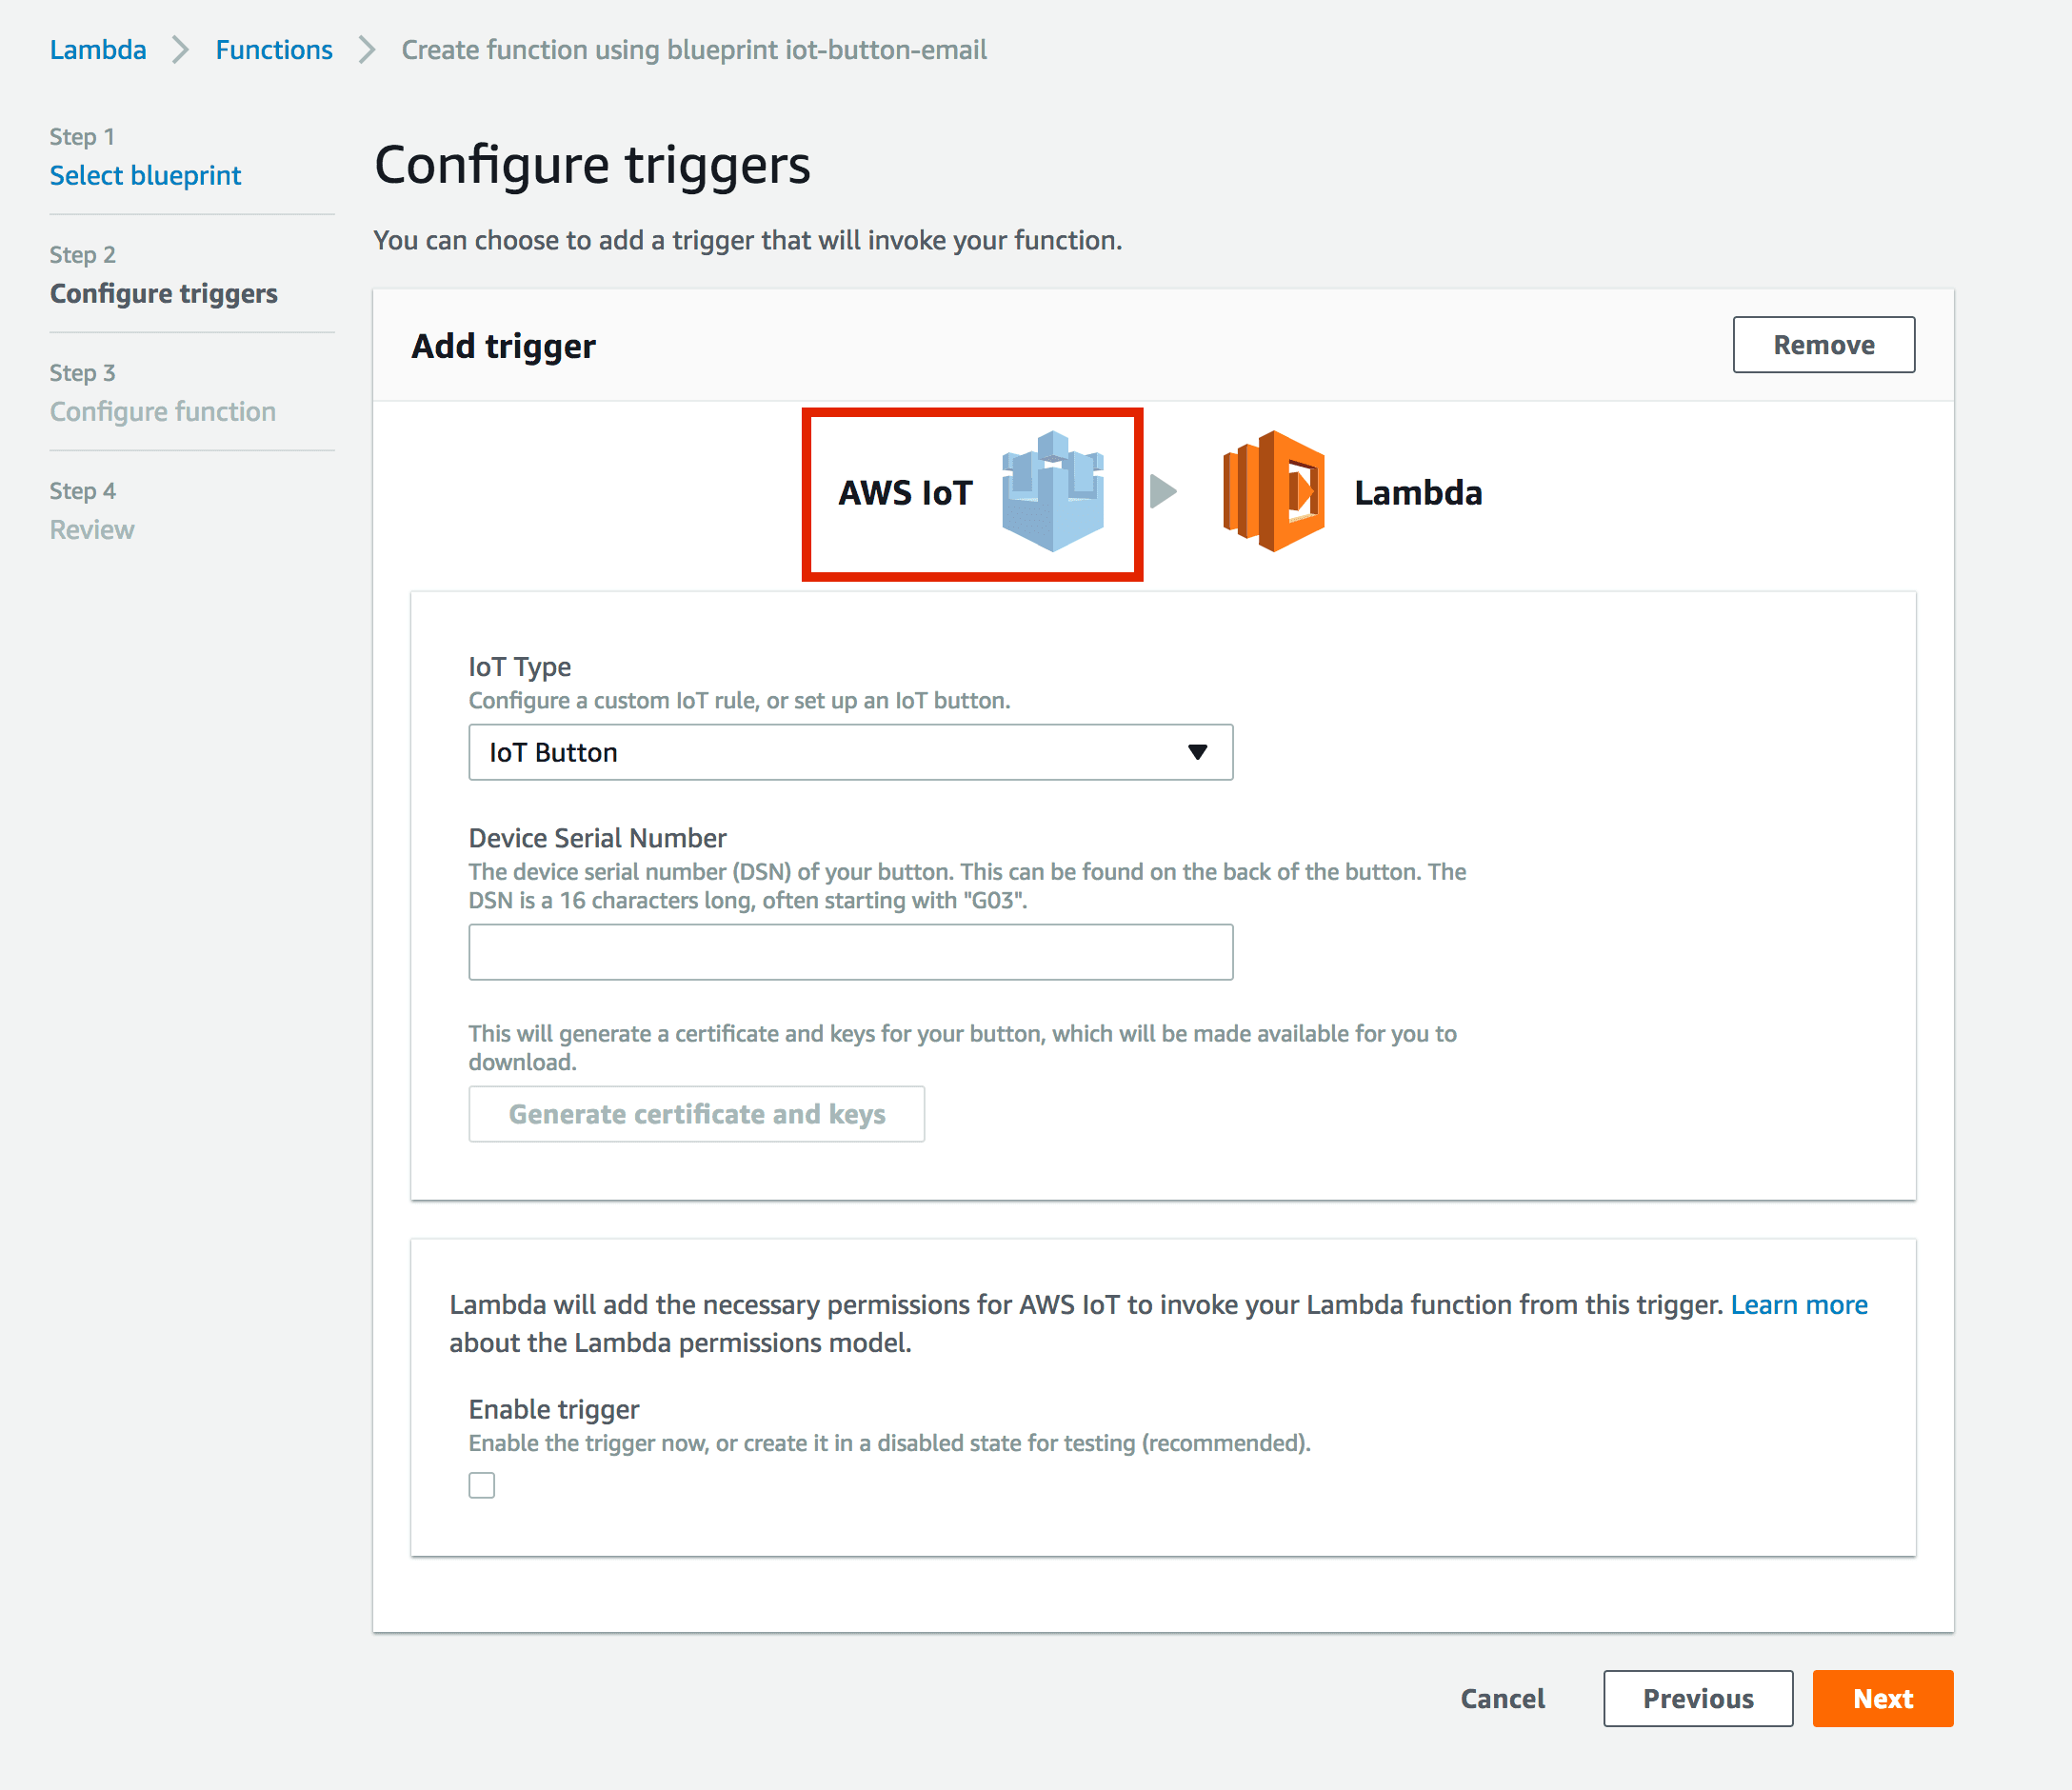
Start the Lambda Wizard.

- Select the trigger type
AWS IoT. - Choose IoT Type
IoT Button. - Enter the Device Serial Number of your IoT Button.
- Press the
Generate certificate and keysand follow the shown steps to configure your IoT Button. - Select the
Enable triggeroption and press theNextbutton to proceed with the next step of the wizard.
The next step asks you for the Node.js code.
- Type in
iotbutton-cloudformationas the Name of the function andLast one out turns off the light.as description. - Choose
Node.js 6.10as the runtime environment. - Copy and past the following Node.js code.
const AWS = require('aws-sdk'); |
Add two environment variables.
// STACK_NAME = name of your CloudFormation stack |

- Type in
index.handleras the handler. - Select
Choose an existing role. - Select the IAM Role
iotbutton-cloudformationthat you created in the previous section.
Click Next to proceed with the next step.
A summary is shown for review. Click Create function to create the function and finish the wizard.
That’s all. You are ready for a first test.
Turn on the lights!
There is only one thing you need to do now: press your IoT Button! Switch to the CloudFormation service overview to watch your development and test environment being created.

Turn off the lights!
After your development and test environment has reached the state CREATE_COMPLETE you can delete your infrastructure by pressing your IoT Button twice.
Summary
We are turning off the lights to save costs and protect the environment. AWS is offering computing, storage, and networking infrastructure on-demand. Turning off unused cloud resources has the same effect than turning off the lights: it saves you money and reduces environmental impact. By combining an AWS IoT Button, AWS Lambda, and AWS CloudFormation, you can create and delete your development and test environment with the push of a button.
