How to secure your DevOps tools with ALB authentication?
Are you hosting any DevOps tools like GitLab, Jenkins, Kibana, Grafana, or phpMyAdmin yourself? On the one hand, it is convenient to provide access to those tools via the Internet. On the other hand, those tools add high-risk attack vectors to your infrastructure. Therefore, I recommend securing your DevOps tools by adding an extra layer of security: authentication provided by the Application Load Balancer (ALB).

Use the ALB to make sure incoming requests are authenticated before they are forwarded to one of your DevOps tools. Right now, the ALB supports two authentication methods:
- Cognito User Pool comes with a built-in user database and supports user federation (Google, Facebook, SAML, OICD, …) as well.
- OpenID Connect (OICD) integrates with any OICD-compliant identity provider.
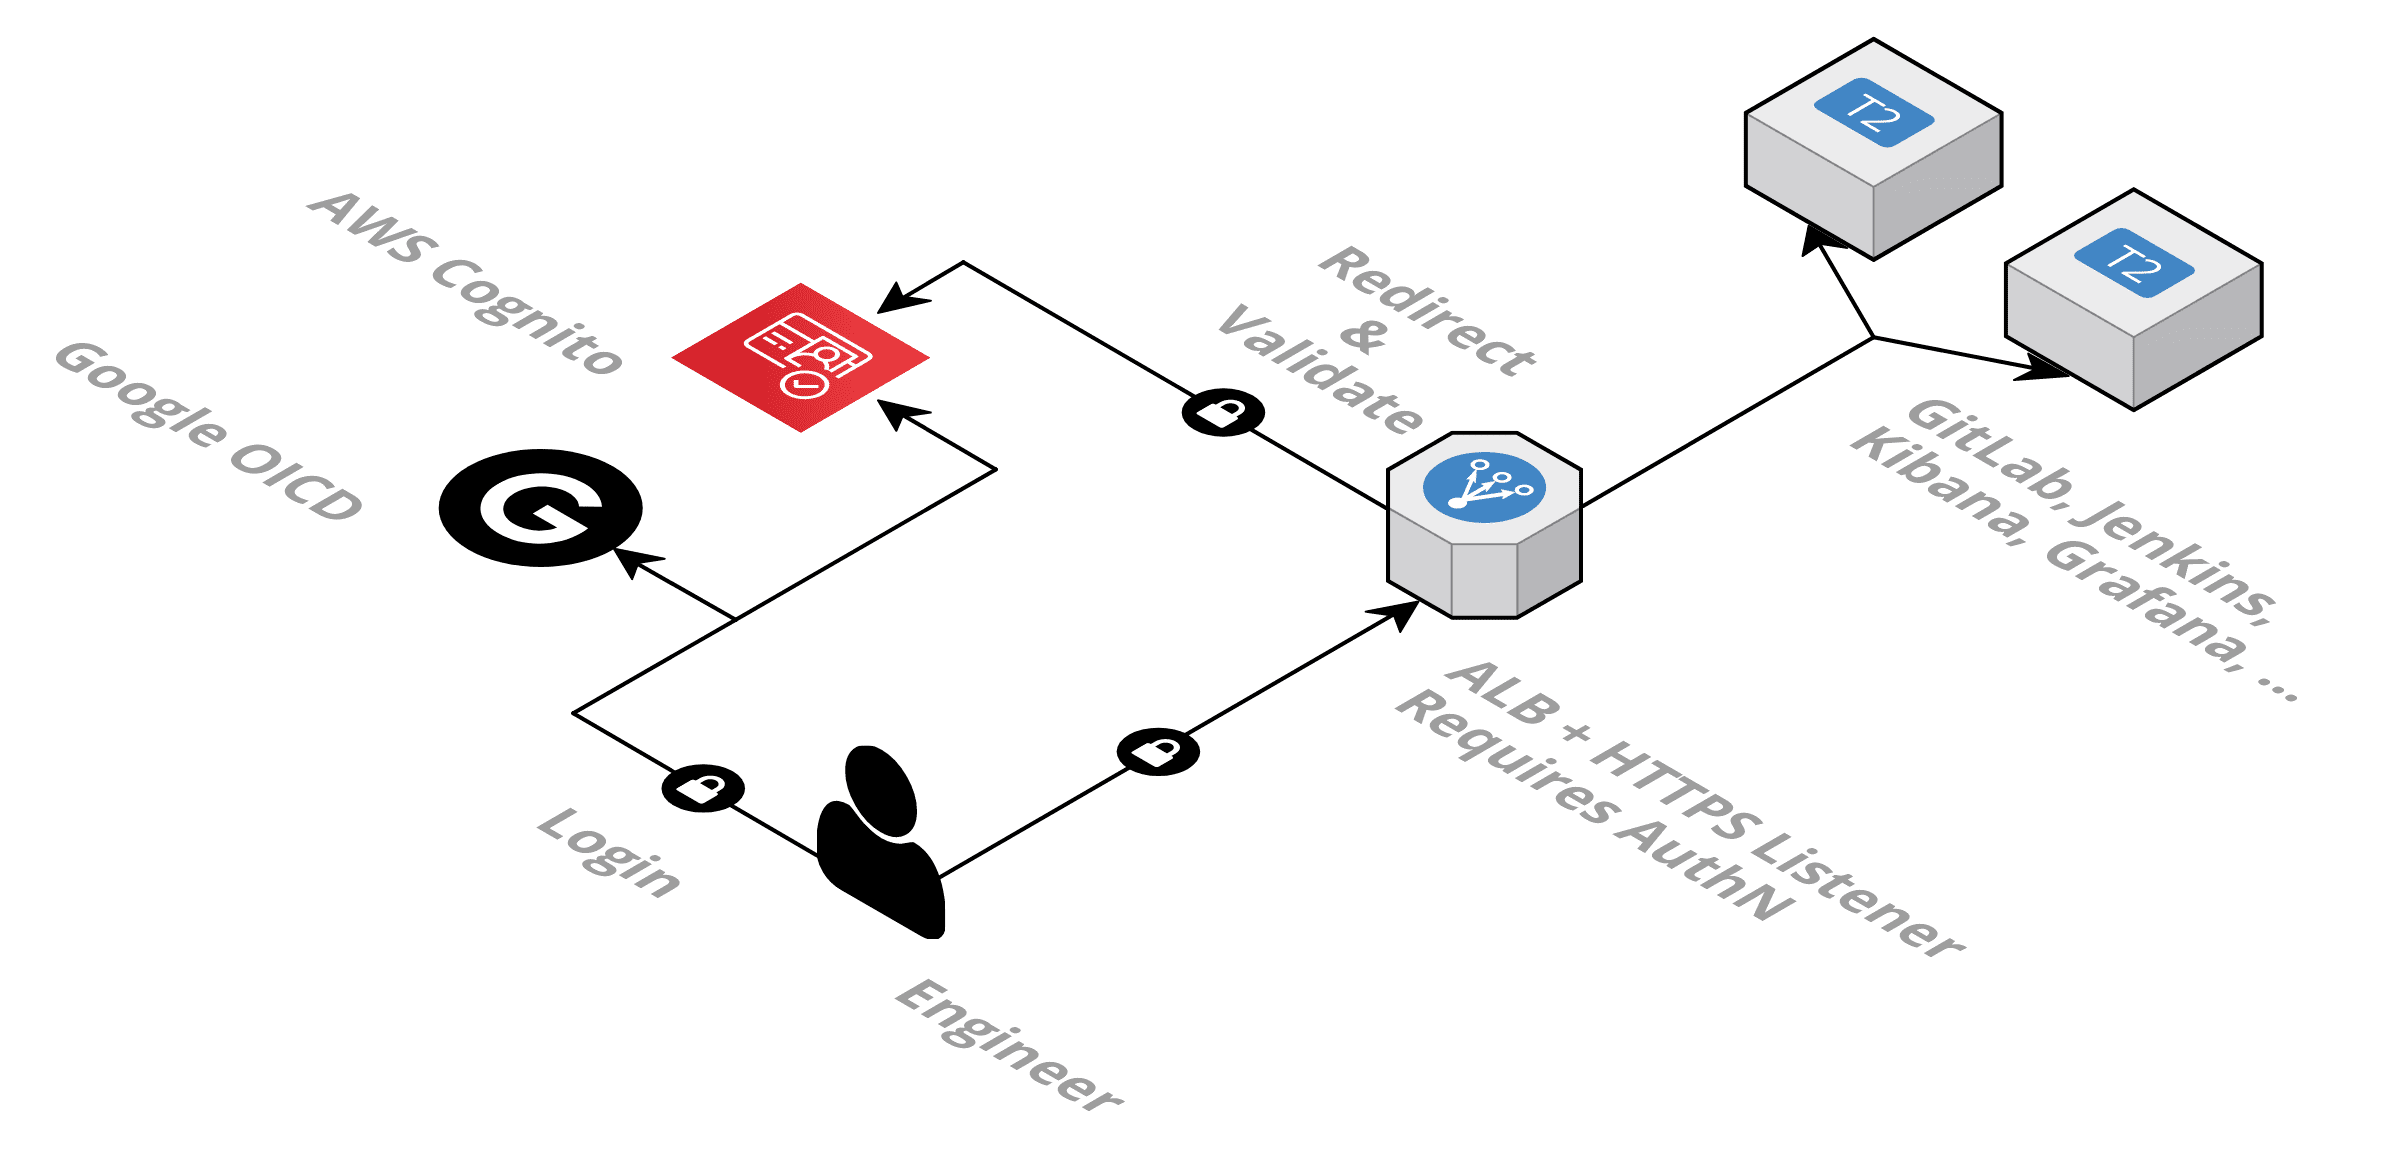
In short, the process works as follows:
- The engineer accesses Grafana by pointing the browser to
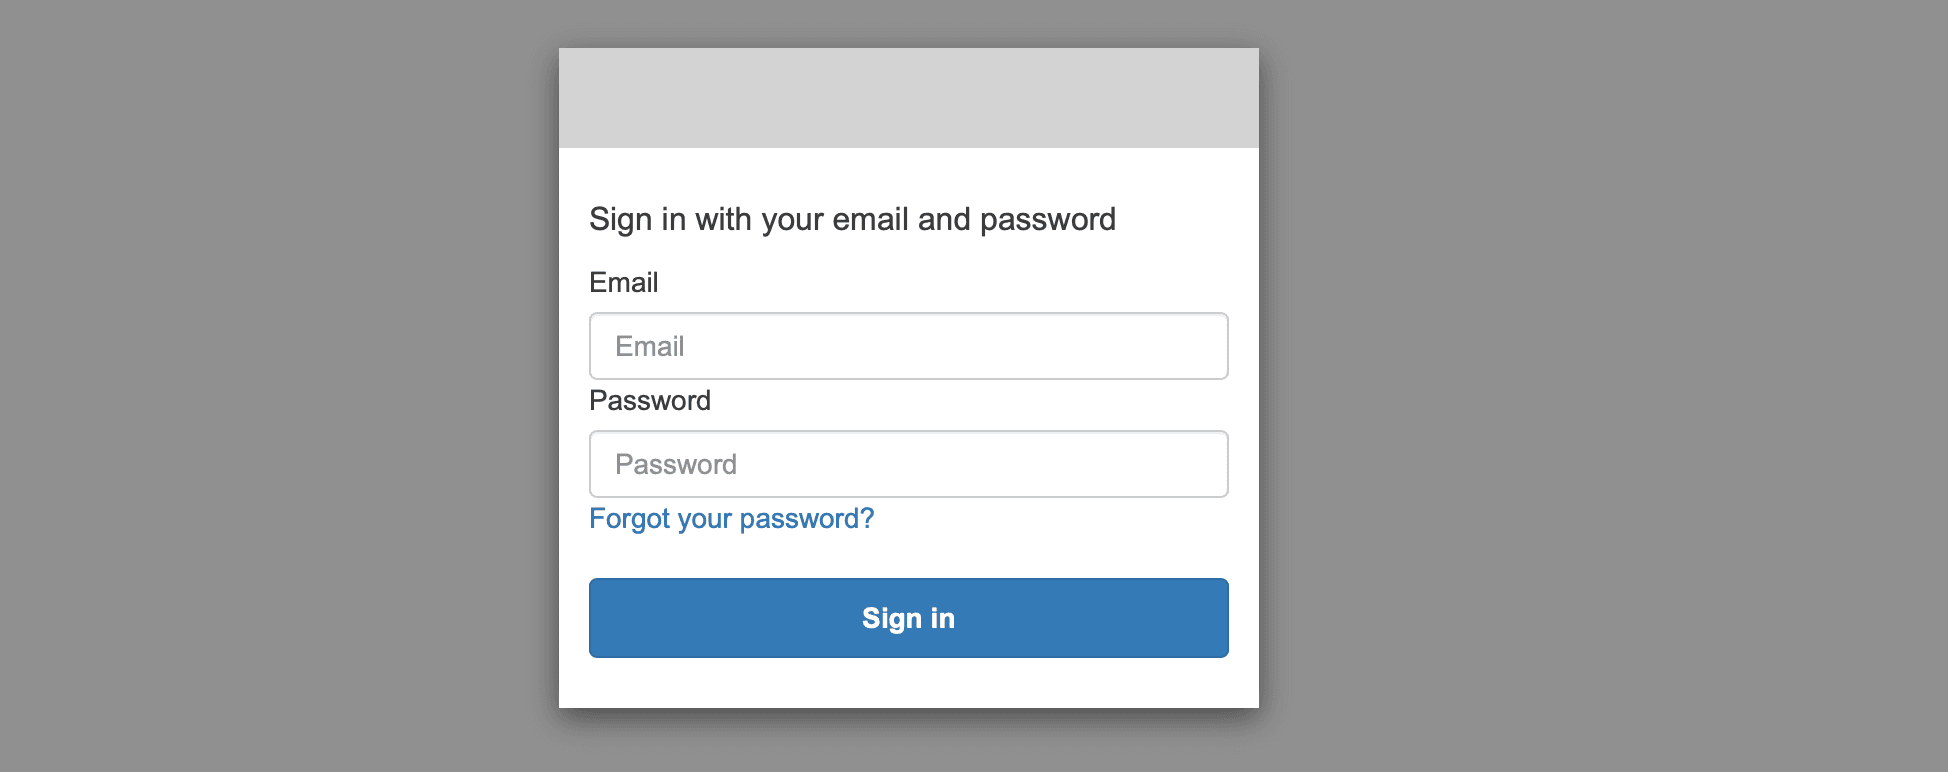
https://grafana.example.com. - The ALB redirects the engineer to the login page provided by AWS Cognito User Pool.
- The engineer authenticates with username, password, and optionally a one-time-password.
- AWS Cognito User Pool redirects the engineer to
https://grafana.example.com. - The ALB verifies the authentication information and forwards the request to one of the targets running Grafana.

In the following, you will learn how to add ALB authentication to protect your DevOps tools from all kinds of attacks. The implementations are intended for small organizations.
Requirements
Before you start, make sure the following requirements are met.
- A custom domain name pointing to your DevOps tool (e.g., grafana.example.com).
- A valid SSL certificate (e.g., Amazon Certificate Manager) for the custom domain name.
Example: Cognito User Pool
The following CloudFormation template shows how to configure an ALB to authenticate incoming requests against a Cognito User Pool. The Cognito User Pool provides a separate user database for your DevOps tools. Check out the # inline comments for details.
|
What else is needed?
- Create a CNAME/Alias record for your custom domain name (e.g.,
grafana.example.com) pointing to the ALB’s DNS name (e.g.,cloud-LoadB-MTNUUM0SEVMO-1111111111.eu-west-1.elb.amazonaws.com). - Open the AWS Management Console and add a user to the Cognito User Pool created by CloudFormation.
- Browse to your custom domain name (e.g.,
grafana.example.com). - Log in with the user you created in the penultimate step.

By the way, it is possible to create users with CloudFormation as well. Alternatively, you might want to use an existing user database. One option to do so is OpenID Connect, which you will learn about next.
Example: OpenID Connect (OICD) with Google
The following CloudFormation template shows how to configure an ALB use Google user accounts to authenticate incoming requests. Check out the # inline comments for details.
Before you proceed, you need to configure the OAuth consent screen of your application and create an OAuth Client. Open the Google API Console to do so.
Warning Choose user type
Internalwhen configuring the OAuth consent screen. By doing so, only G Suite users within your organization are allowed to log in. When choosingExternalanyone with a Google account can log in.
|
What else is needed?
- Create a CNAME/Alias record for your custom domain name (e.g.,
grafana.example.com) pointing to the ALB’s DNS name (e.g.,cloud-LoadB-MTNUUM0SEVMO-1111111111.eu-west-1.elb.amazonaws.com). - Browse to your custom domain name (e.g.,
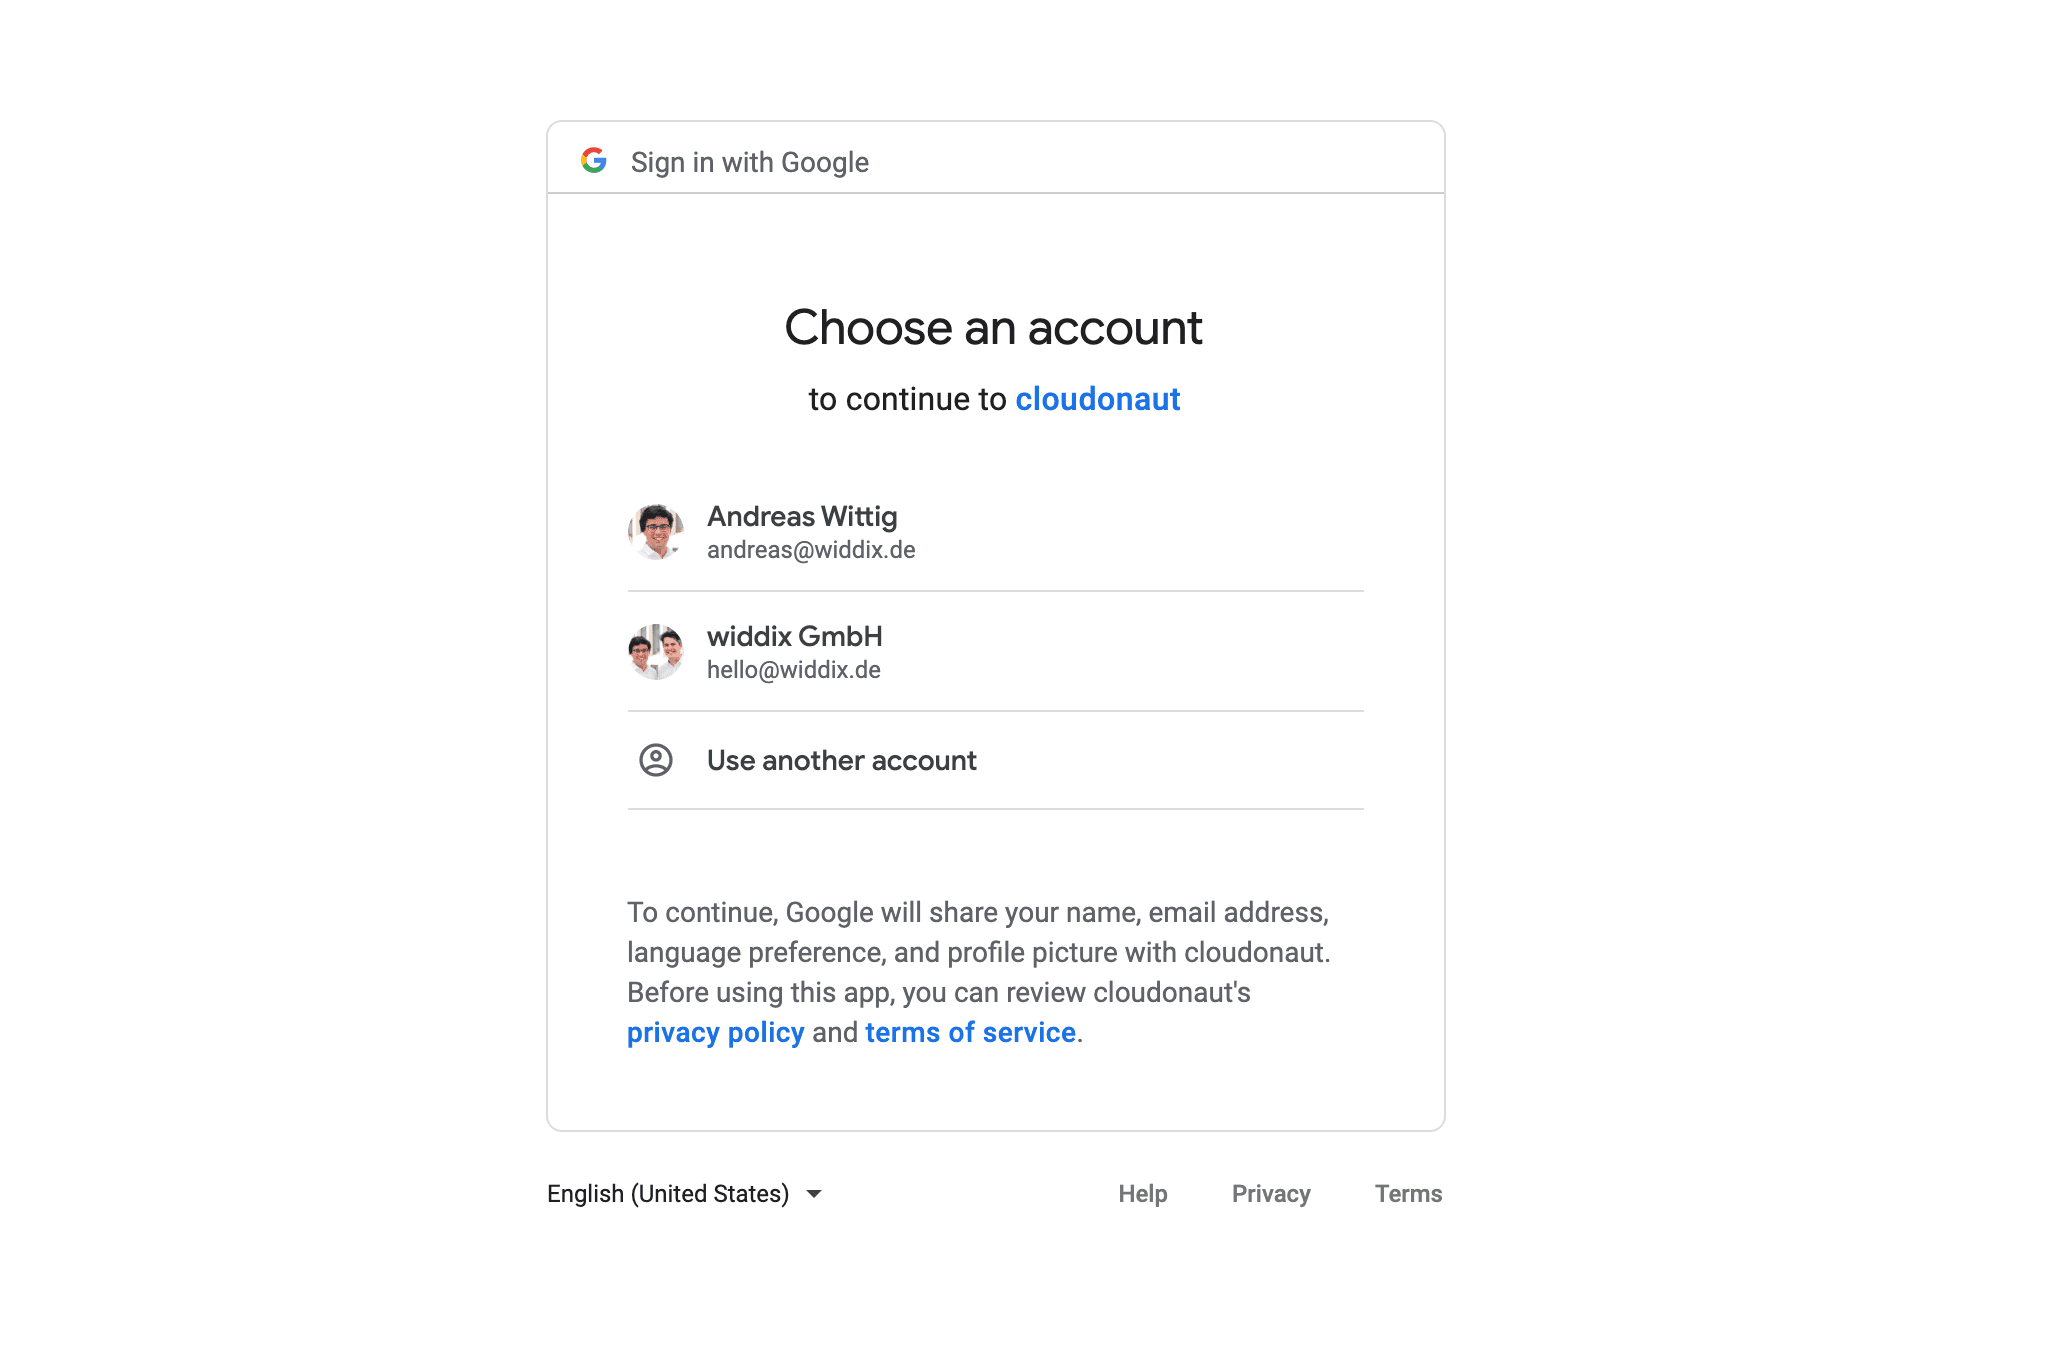
grafana.example.com). - Log in with your Google account.

See Google Identity Platform: Guides: OpenID Connect to learn more.
What is next?
Be aware that the ALB only handles authentication. Anyone with a user account can log in and access your DevOps tools. The ALB does not offer additional authorization. Make sure you understand which users can log in when configuring an OpenID Connect provider. It might be anyone with a user account. Or only user accounts that belong to your organization (see the warning for OpenID Connect (OICD) with Google).
By default, your DevOps tool will not integrate with the ALB authentication. However, the ALB adds headers with the user information to all forwarded requests (e.g., x-amzn-oidc-identity contains the user name of the authenticated user). You might be able to configure your DevOps tool to use these headers for authentication and authorization. See Authenticate Users Using an Application Load Balancer to learn more.
Summary
Use authentication on the load balancer to add another layer of security to your DevOps tools like GitLab, Jenkins, Kibana, Grafana, or phpMyAdmin. Doing so reduced the attack surface to your infrastructure. Implementing ALB authentication for small organizations is quite simple by using either Cognito User Pools or Google via OpenID Connect.
Further reading
- Article How to avoid S3 data leaks?
- Article AWS CloudTrail: your audit log is incomplete
- Article Goodbye SSH, use AWS Session Manager instead
- Tag security
- Tag alb
- Tag cognito
